The week is coming to a close; a couple of friends are dropping by for a glass of frozen sangria and tapas on their way to dinner. Here, I have a couple of tapas recipes that can be made ahead and then popped into the oven just a few minutes before arrival time. These are guaranteed to be crowd pleasers.
Here is my recipe:
Bacon Wrapped water Chestnuts with Balsamic & Honey Glaze
 |
| Bacon Wrapped Chestnuts |
1 5-ounce can water chestnuts, drained
3/4 pound thinly sliced bacon
1 tablespoon balsamic vinegar
1/2 tablespoon soy sauce, gluten free
1/2 tablespoon honey
Here is how I did this:
1. Preheat oven to 450 degrees Fahrenheit.
2. Drain water chestnuts, discarding liquid. Cut bacon strips into halves, Wrap one-half slice bacon around each water chestnut; secure with a toothpick. Arrange in a single layer on a parchment lined baking sheet; set aside.
3. Place balsamic vinegar, soy sauce and honey in a small mixing bowl. Combine thoroughly. Brush all sides of bacon wrapped chestnuts.
4. Place baking sheet in preheated oven. Cooked for 15 to 20 minutes or until bacon is crispy. Turn every 5 to 7 minutes. Lightly baste with remaining balsamic vinegar mixture.
Servings: 4
Preparation Time: 10 minutes
Cooking Time: 20 minutes
Total Time: 30 minutes
Here is my recipe:
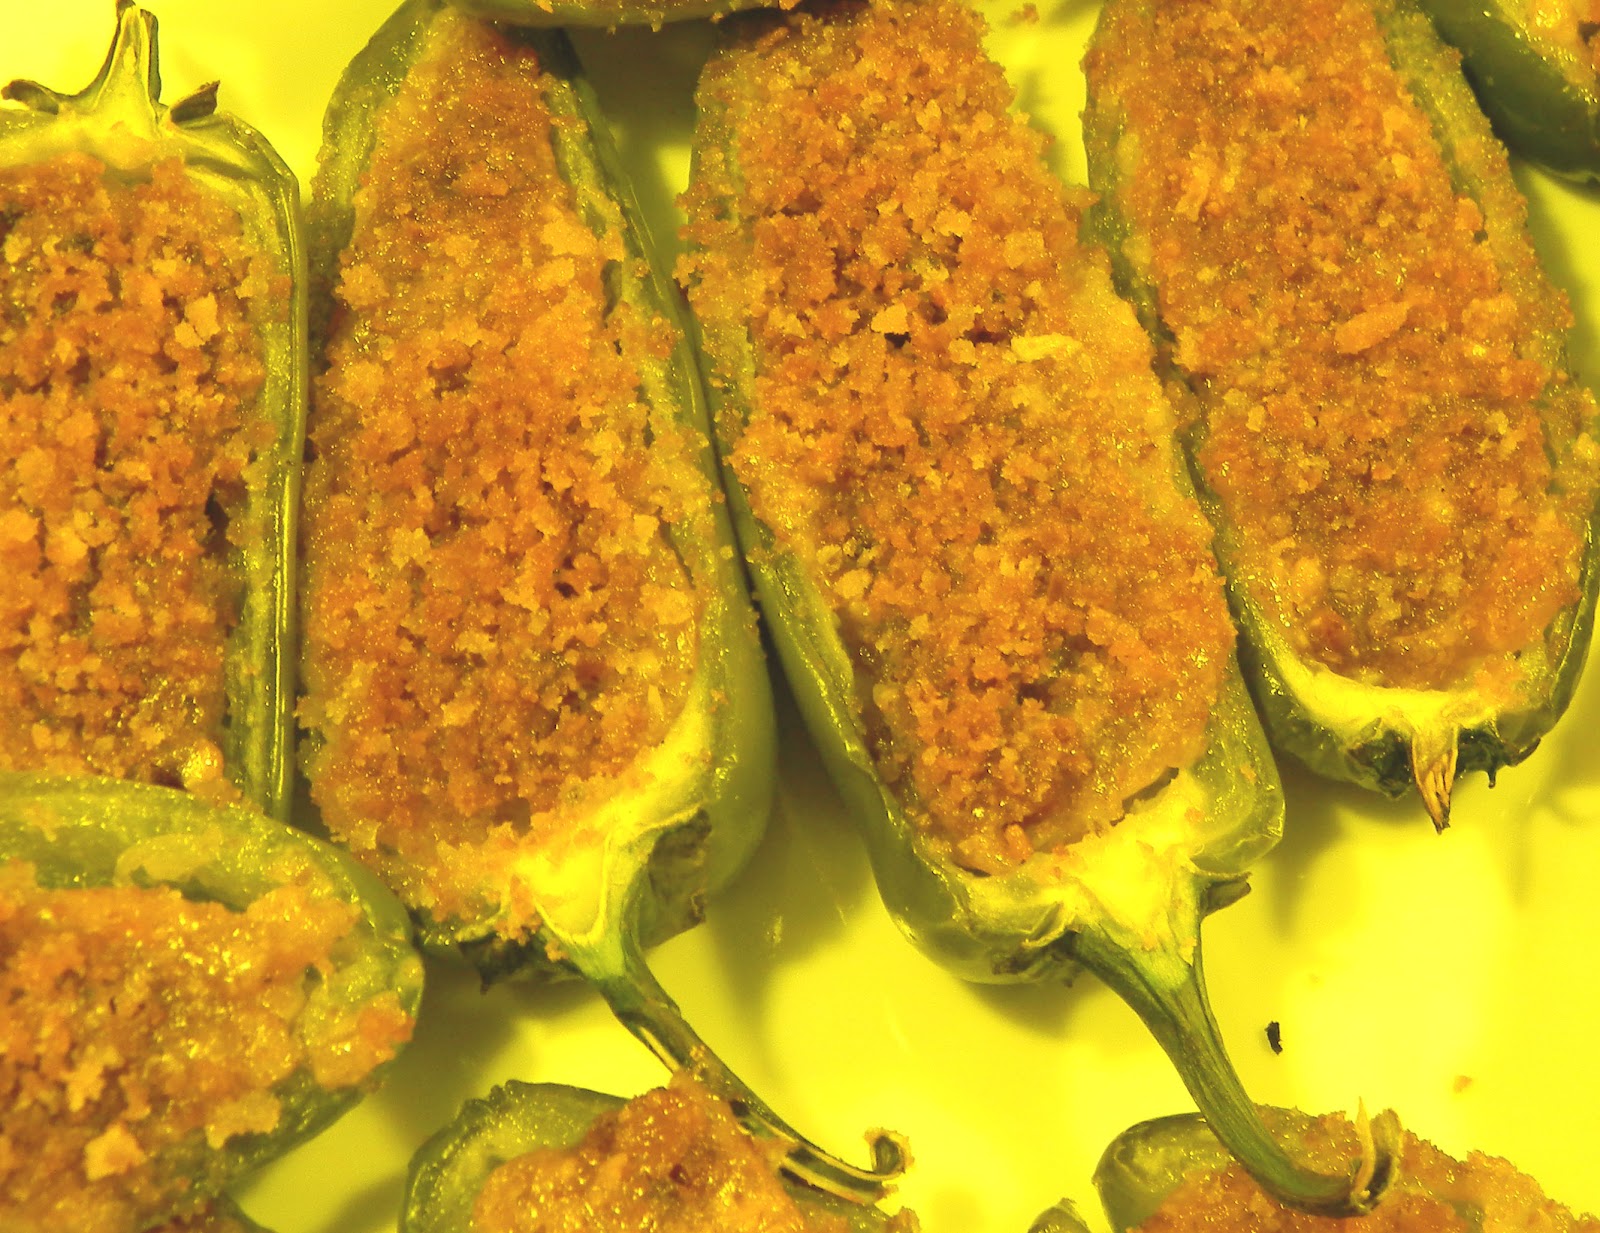
Buffalo Poppers
 |
| Buffalo Poppers |
20 large jalapeno chiles, stemmed, seeded and cut in half
1 8-ounce blocks cream cheese, softened to room temperature
6 ounces shredded low-fat mozzarella cheese
1/2 cup gluten free blue cheese salad dressing
2 teaspoons Tobasco sauce
1/2 teaspoon salt
1/4 cup gluten free bread crumbs
Here is how I did this:
1. Preheat oven to 375 degrees Fahrenheit.
2. Wearing rubber clubs, cut each jalapeno in half lengthwise. Using the small end of a melon baller, scoop out and discard the seeds.
3. Place the cream cheese, the mozzarella cheese, blue cheese salad dressing, salt and Tobasco, which should be at room temperature, into a medium sized mixing bowl. Mix with and electric mixer on medium speed.
4. Spoon mixture into jalapeno halves, leavening with a knife. Place approximately 1 teaspoon bread crumbs onto the top of each stuffed jalapeno half. Set aside.
5. Cover the bottom of one to two baking trays with aluminum foil for easier clean-up.
6. Arrange in a single layer on prepared baking trays, and place in preheated oven for 25 to 30 minutes or your desired degree of crispness.
7. Remove from oven and arrange on serving platter. Allow to stand for approximately 10 minutes before biting into cheese filled jalapeno.
Servings: 40
Preparation Time: 30 minutes
Cooking Time: 30 minutes
Inactive Time: 10 minutes
Total Time: 1 hour and 10 minutes
Author: Dr. Jacquelyn P. Horne Copyright: 2012